
What's the easiest way to optimise images for web? In the multitude of free and paid tools, it's easy to get lost. And there are platform-specific tools, extensions and plugins to give more confusion. Today, I'll share some insights on what we do at Digital Malayali Studio to optimise images for giving the users a better experience when visiting our websites.
Choosing the Right Image Format
Optimising images for web is always about reducing file size without losing much quality. When it comes to logos and icons, there's no better choice—All hail the King!—than the SVG. Being a vector format, it offers great flexibility over the image dimension and provides a low file size without any compromise in the quality. During the preliminary session with the clients, we always suggest them to provide logo as SVG if possible. But there were instances where clients don't have a vector logo from the start. Because their designer used a raster program, which can't export to vector, to design the logo! In situations like that we'll have to sit with a raster image.
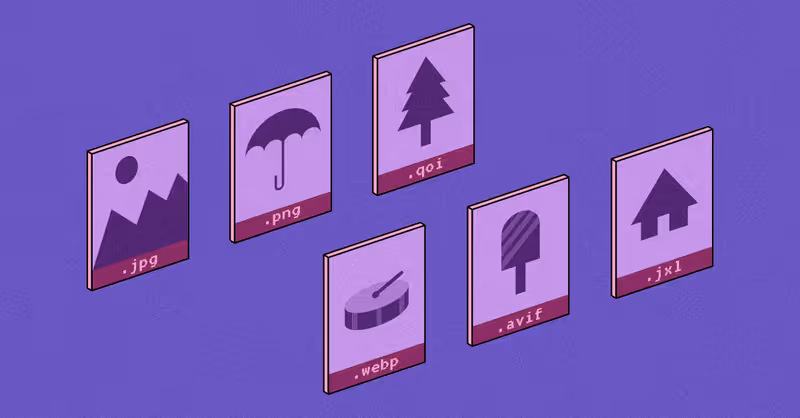
For raster formats there are 2 prominent choices: WebP and AVIF. The major advantage of these formats over the traditional JPG and PNG is the reduction of file size whilst maintaining good quality without much degradation. WebP was introduced by Google in 2010. AVIF is a much newer format, introduced in 2019 by Alliance for Open Media. Both formats have strong browser support as of 2024, with 93%+ global usage. Despite being new, AVIF offers 20-30% better compression than WebP as per the tests by Netflix. Both formats support transparency and animation if that's one of your concerns.
Most of the modern and popular raster image-editing programs like Photoshop, Affinity, GIMP etc support exporting to WebP. Since AVIF is new, amongst these three, only GIMP has native support for it as of December 2025.
Reducing File Size
Let's see how we can convert and compress (even resize) images to WebP and AVIF without the help of image-editing programs, extensions or plugins. These open-source tools are not platform-specific and work for any CMS, SSG or framework you use. So, you don't have to worry about being locked out. You can also watch this as a video tutorial on YouTube:
For SVGs, I use SVGOMG powered by the library SVGO, to optimise it further. For raster images, I use squoosh, an open-source web app for image compression. There's a fun fork we made in Malayalam language known as Pappadam. Squoosh supports many image formats apart from WebP and AVIF. But squoosh GUI has limitations. It can't compress multiple images at once. For such scenarios, there's another fork called Bulk Squoosh. Usage is quite simple as drag and drop. But, before adding images, make sure to click the gear icon at the bottom right corner to set the output format and size. Compressed images can be downloaded as a ZIP file.
Previously, squoosh had CLI functionality with features like automation and auto-optimiser. But they removed it officially in 2023, stating a lack of staff. Guess what, a fork exists for the rescue - frostoven squoosh which retains the CLI functionality! Let's see how we can make use of it.
Squoosh CLI
Ensure Node.js and Git are installed on your system before proceeding. You can install frostoven squoosh globally or use it via npx. For installing it globally, enter the following command in terminal:
npm i -g @frostoven/squoosh-cliNow, open Git Bash and change the directory to the folder containing images for optimisation. In Windows, you can also use Open Git Bash here from the right-click menu.
cd foo/barOnce inside the folder, open a for loop to optimise each image:
for foo in *.pngHere, foo is the loop variable name. Change the file extension to match your images.
Press Enter to go to next line and type:
doIf you'd like to see the live progress, this is optional, on the third line, enter something like this:
echo "Optimising $foo file..."Next, enter the following:
npx @frostoven/squoosh-cli --resize '{"width":1000}' --avif '{"quality":75}' --output-dir "./new-folder" $fooIf you've installed squoosh globally, you can simply use squoosh-cli instead of directly executing with npx. Resize, quality and output directory are optional. To keep the aspect ratio whilst resizing, enter either the width or height in pixels. If no output directory is set, it will export the optimised images to the current folder. You can set the output file format of your choice.
Finally, on the next line, type:
doneThat's all! Squoosh will begin processing each image and save them in the output folder.